Star of Shamash, construction page
A Jim-dandy! art project for Burning Man 2014, Caravansary!
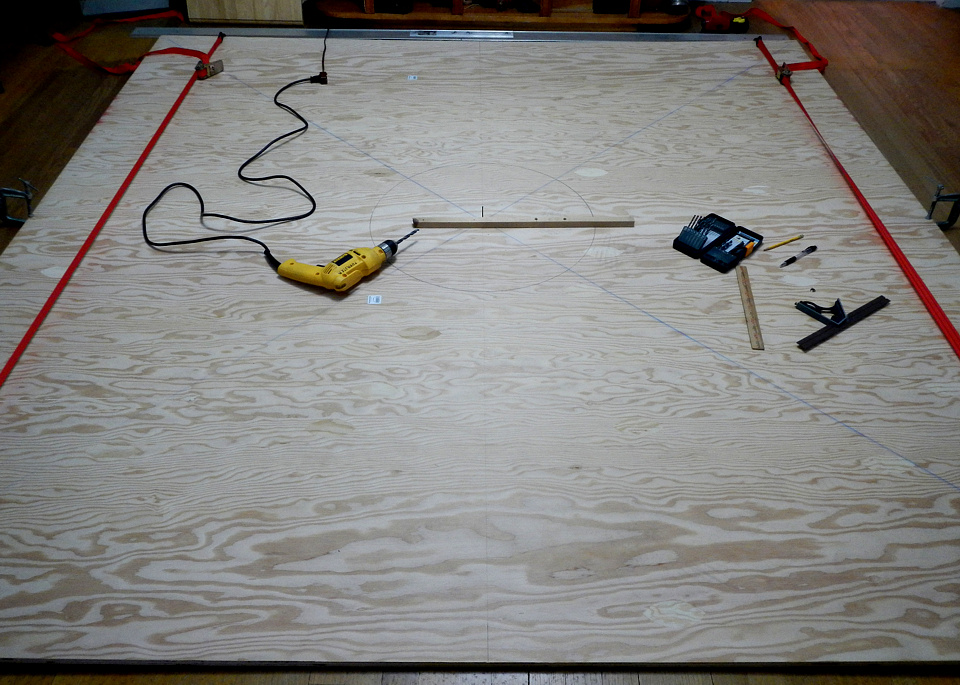
I had to hold the two plywood sheets together with straps so that I could put a nail in the center for a pivot point to draw small circles with a jig (31 May 2014).
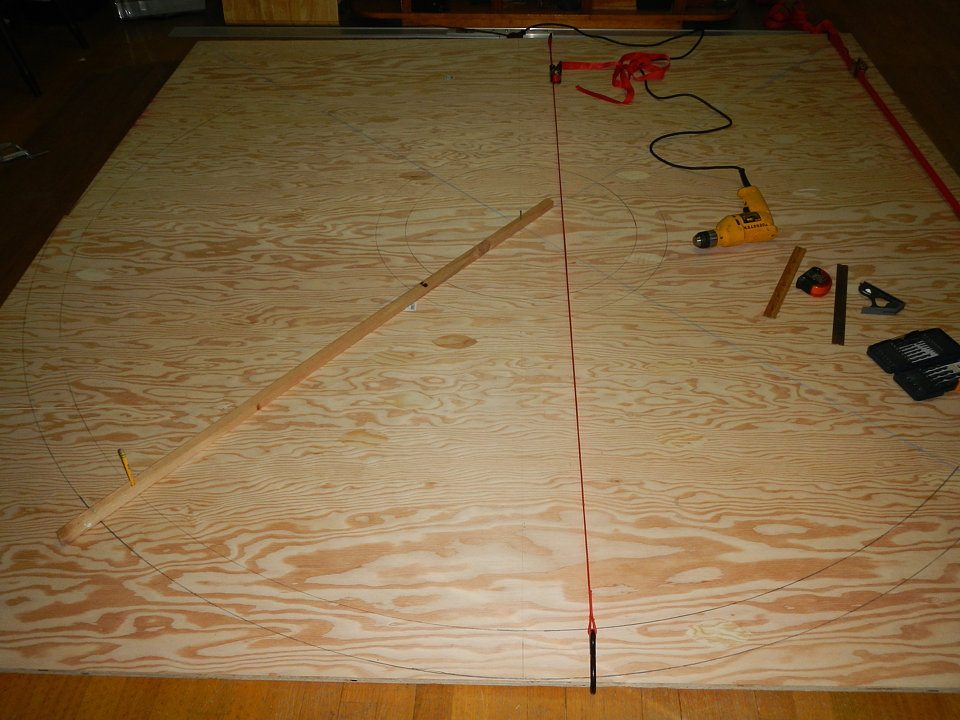
Then I made a longer jig for the bigger circles (31 May 2014).
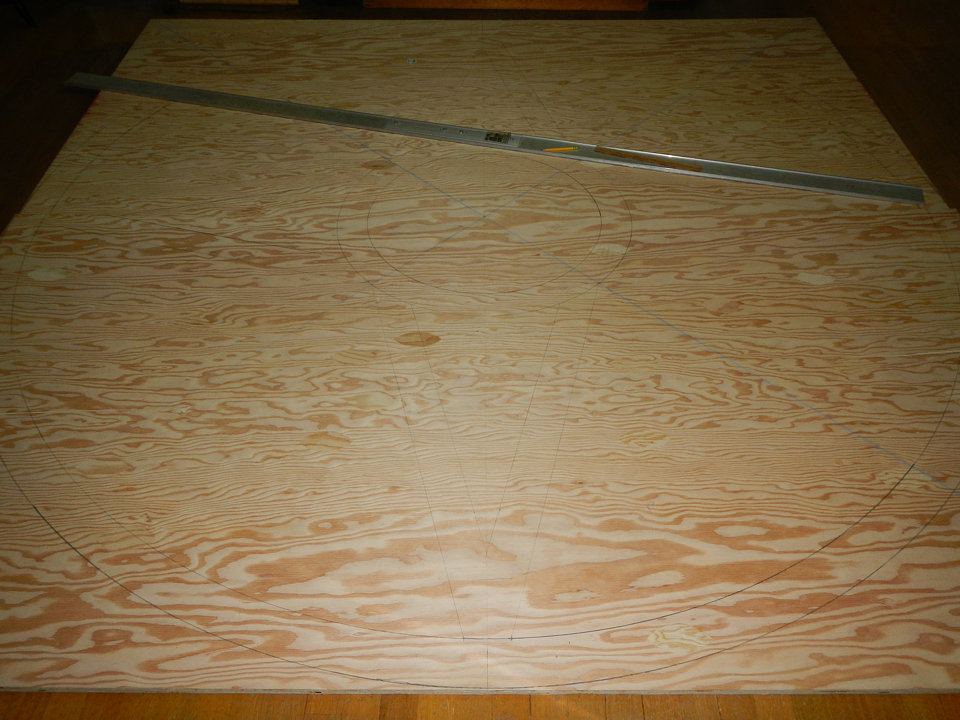
I used a long straight-edge to draw the four star points (31 May 2014).
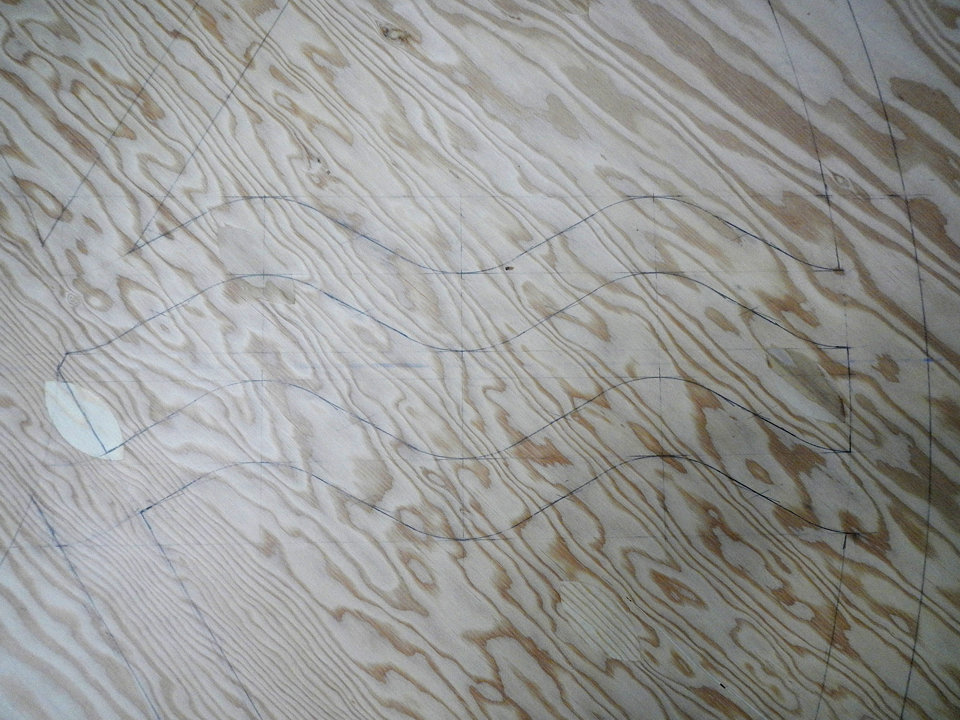
The hardest part was figuring out how to draw the wavy pattern of the sun beams. I spent about 4 hours of trial and error with nothing working before I figured out how to do it. I first drew a grid and then used a dinner plate to draw the curves and connected the curves with straight lines. I was ecstatic when I was done with this step (1 June 2014).
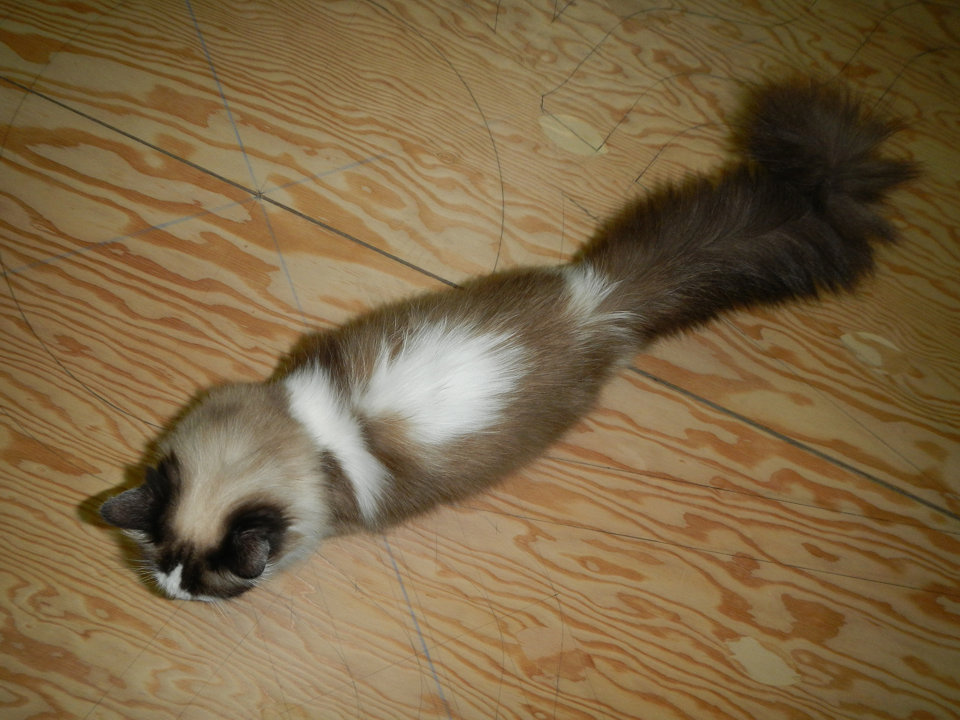
My building inspector arrived for a surprise inspection (1 June 2014).
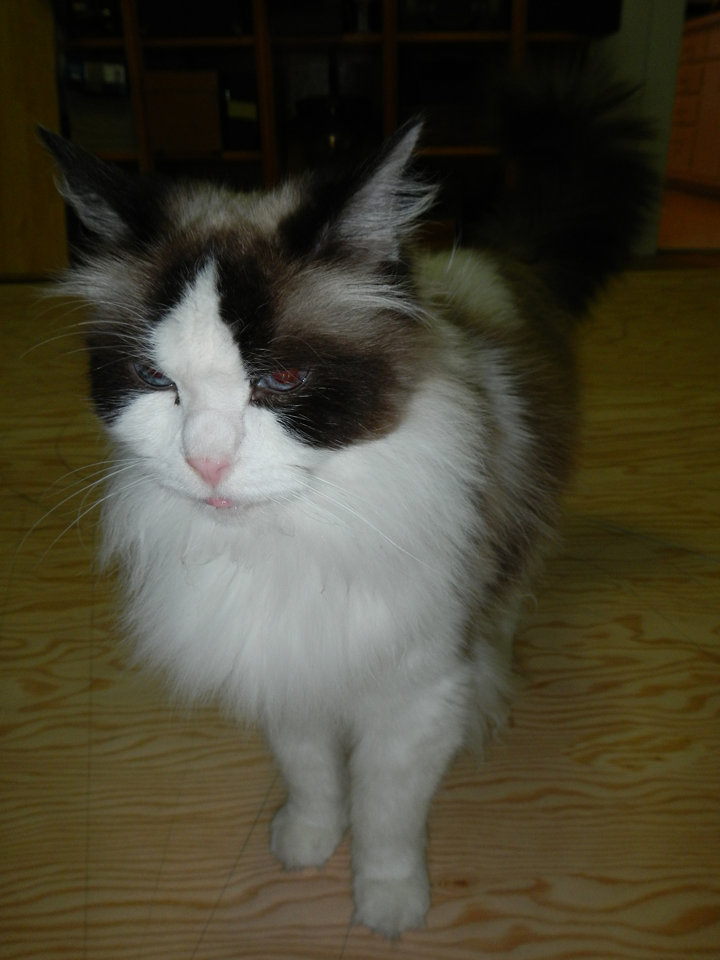
My cat, Dusty, gives it his stamp of approval (1 June 2014).
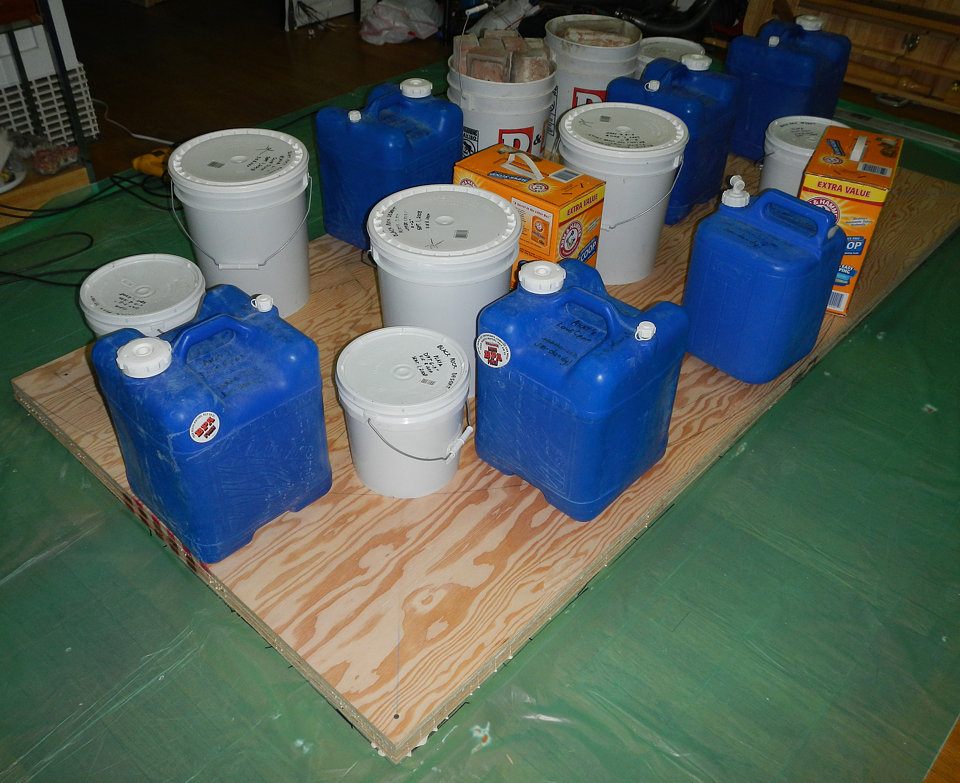
My first attempt at gluing the first two sheets of plywood together was a complete failure. I used a small paint roller to apply the glue but it was too thin and the next day the two sheets pulled right apart! I panicked at first but tried again - this time I used a lot more glue, squeezing it out of a glue bottle and this time it worked! This picture is actually of the second gluing of the third sheet and I used screws to hold the corners together and piled on lots of heavy things to hold the two sheets together while the glue set up (11 June 2014).
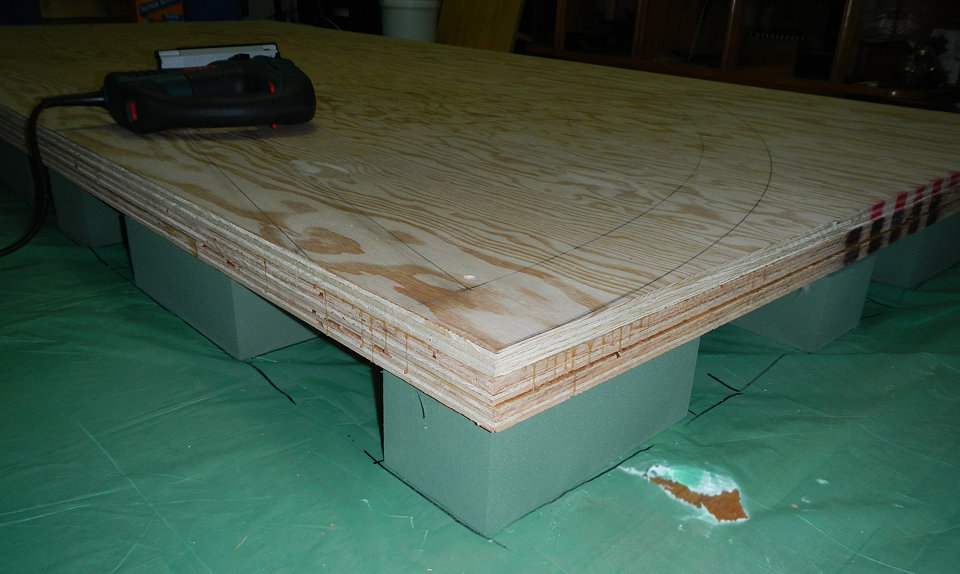
I lifted up the three sheets of plywood and put 32 blocks of 9"x4"x3" floral-foam (A.K.A. Oasis, aqua-foam) underneath so that I could cut the sheets with the jig saw without cutting my floor or saw horses. The foam worked very well. How heavy do you think the three sheets of glued together plywood are? (12 June 2014).
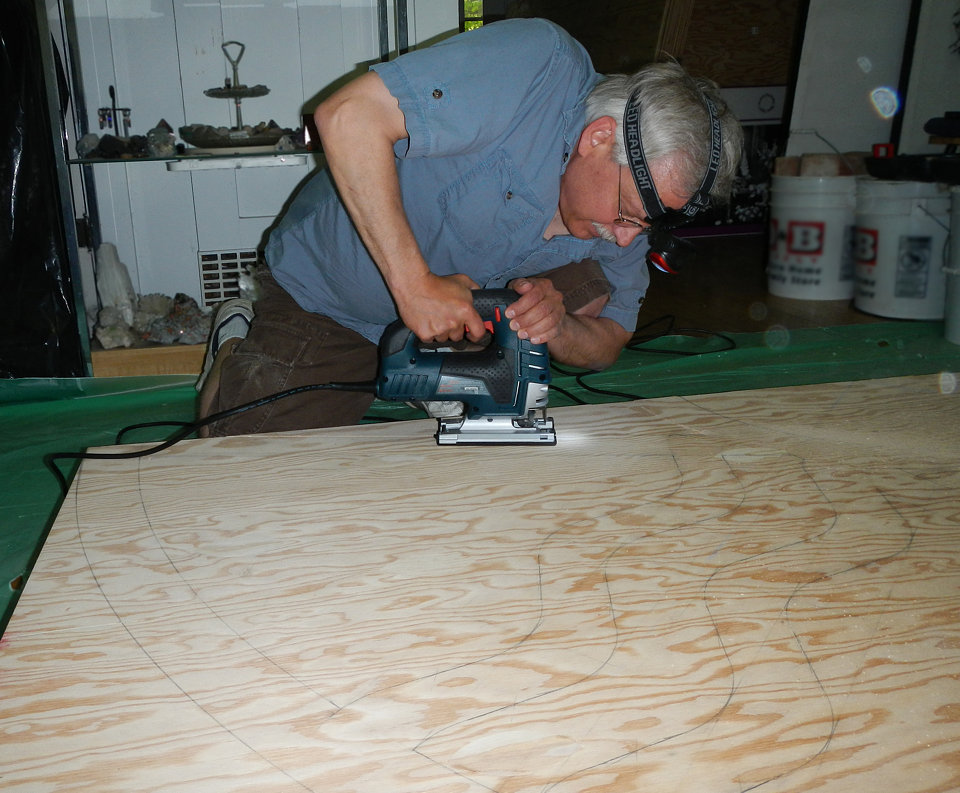
Here is the professional carpenter that I hired, making the first cut . . . wait a minute . . . that looks like me . . . ha, it IS me! No one has helped me with the construction except for bringing the plywood into my house. I'm building this all by myself so far! (12 June 2014).
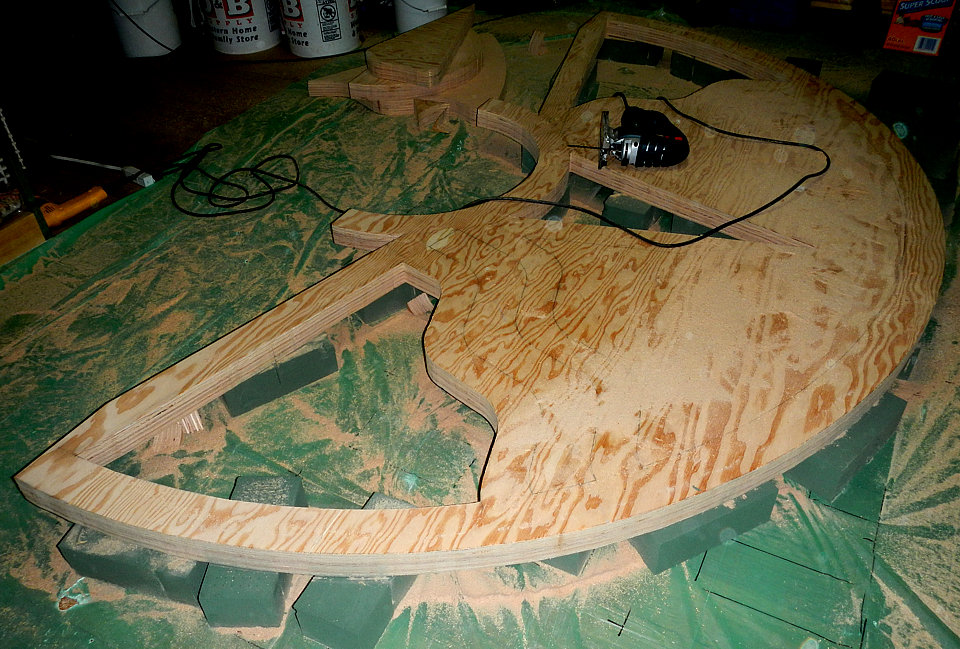
It was hard work cutting out all those shapes and what a mess! At least the foam blocks and the jig saw were working wonderfully! (12 June 2014).
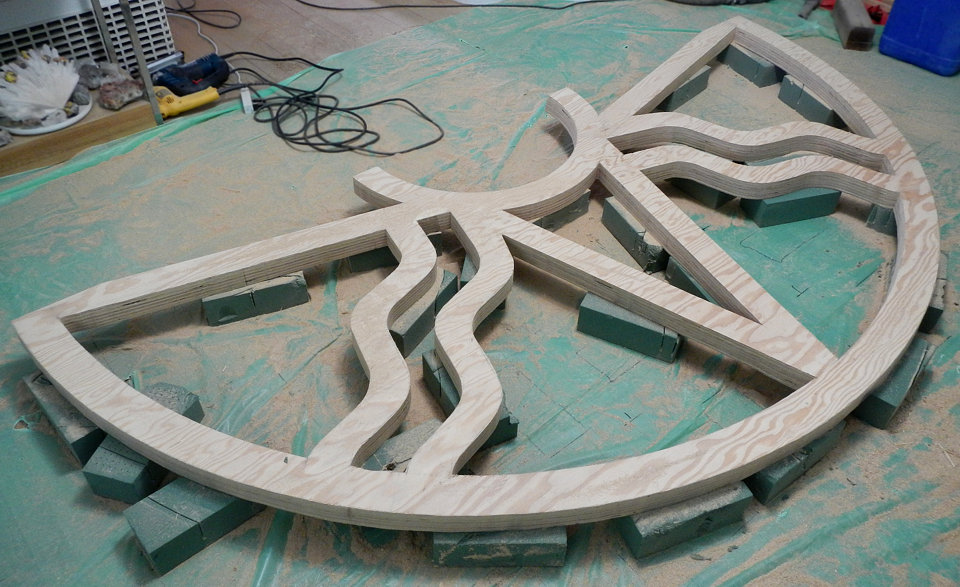
Part one (of four) all cut out but this is only half of the final 4 1/8" thickness and only half of the whole star (13 June 2014).
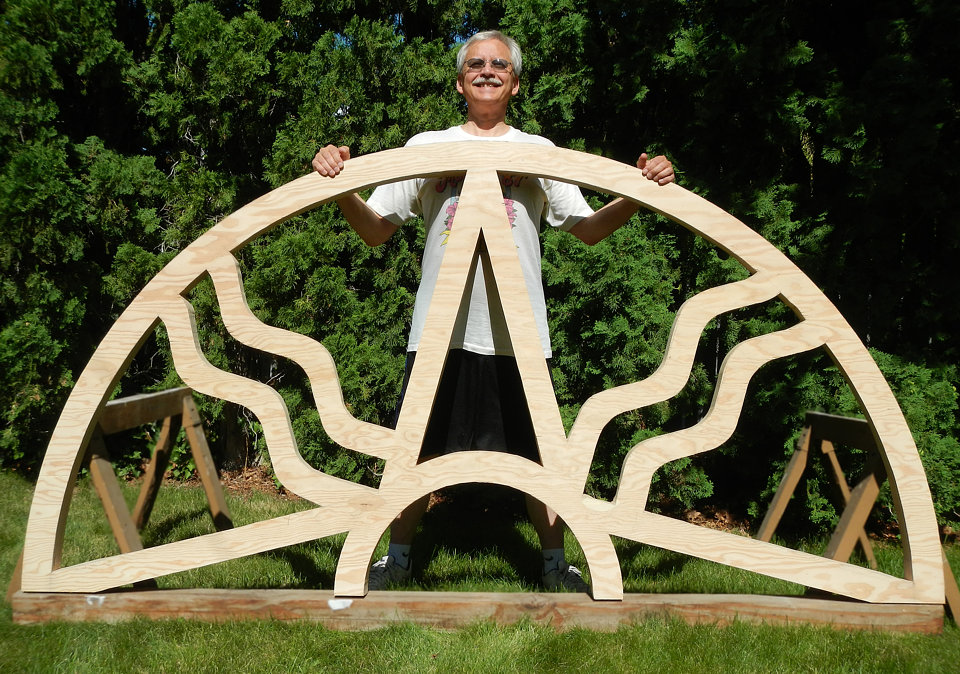
The proud builder (should I consider myself an artist?) shows off his work (13 June 2014). Now, on to the next part . . .
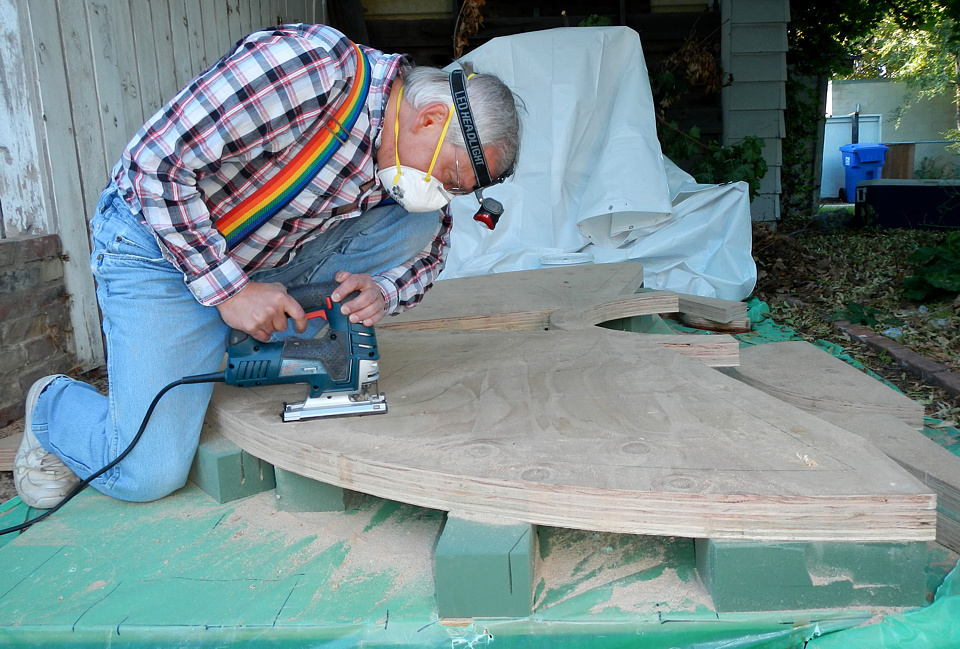
I moved outside and glued the next three sheets together and started cutting it out (17 June 2014).
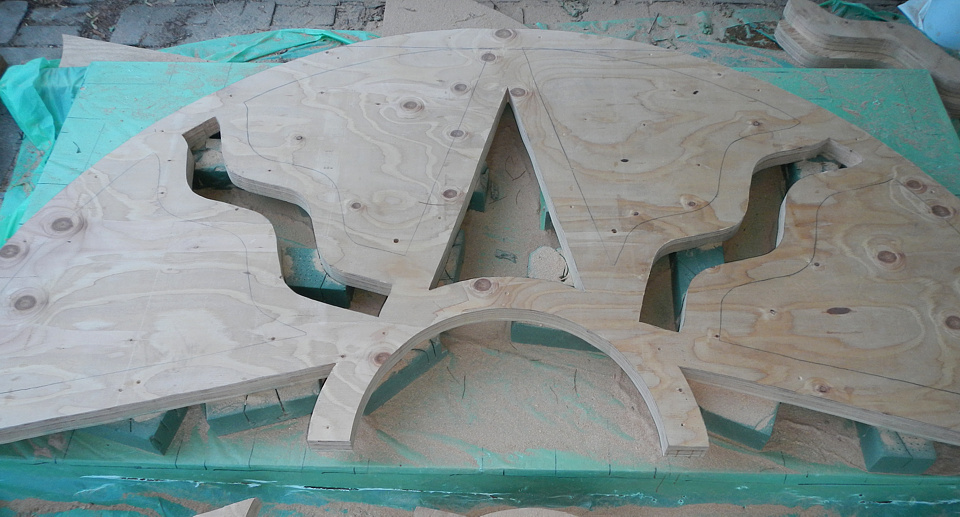
This is as far as I got that night (17 June 2014).
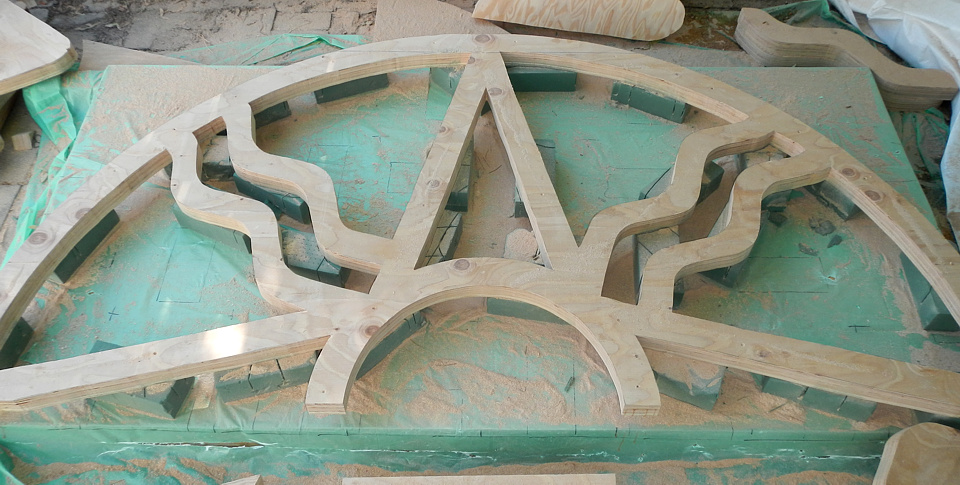
All cut out (18 June 2014).
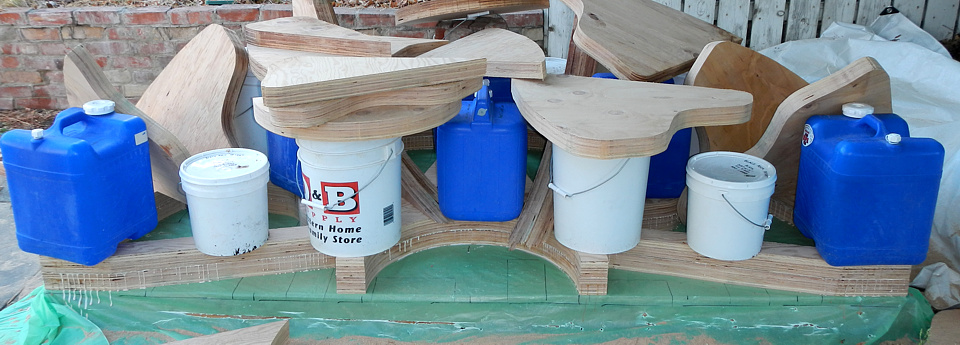
I then glued the front half to the back half so now it will be the full 4 1/8" thick. I used all the weight that I could find to hold them together while the glue set up (18 June 2014).
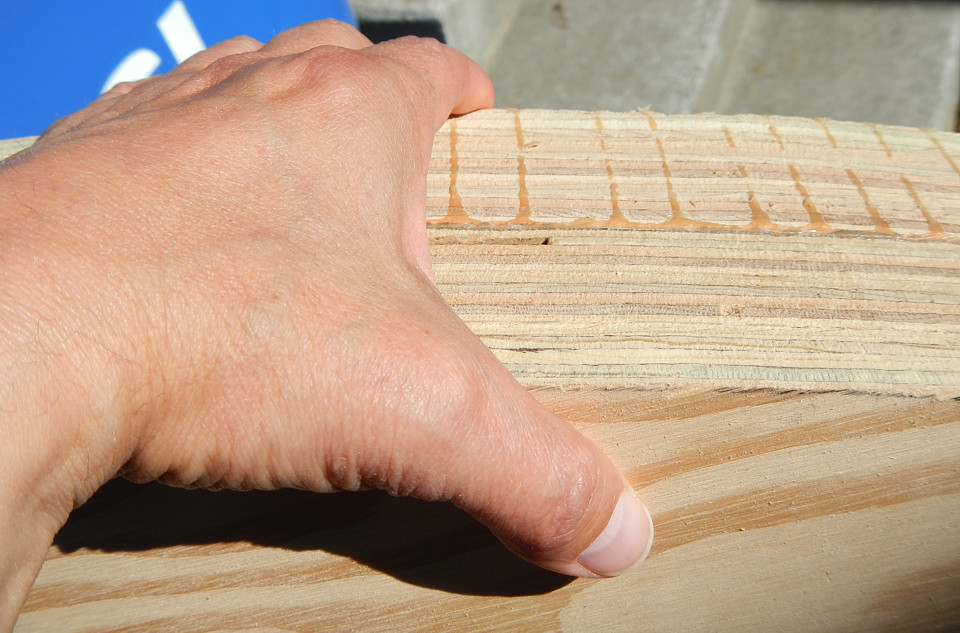
Here is a close-up showing the full 4 1/8" thickness. (20 June 2014).
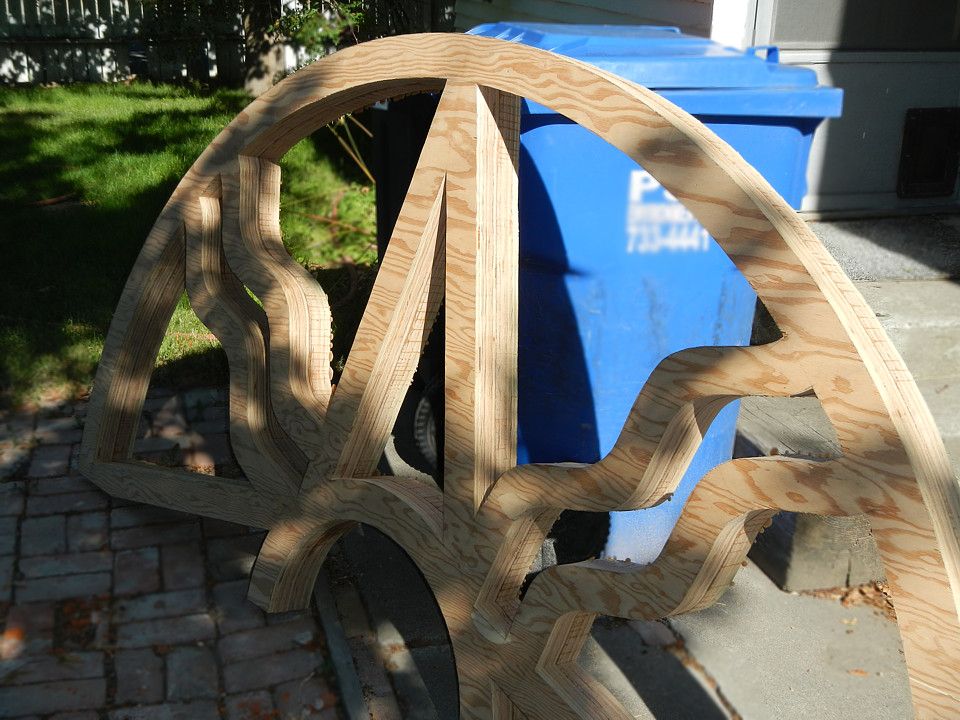
Another shot showing it at full thickness, this half weighs 100 lbs (20 June 2014).
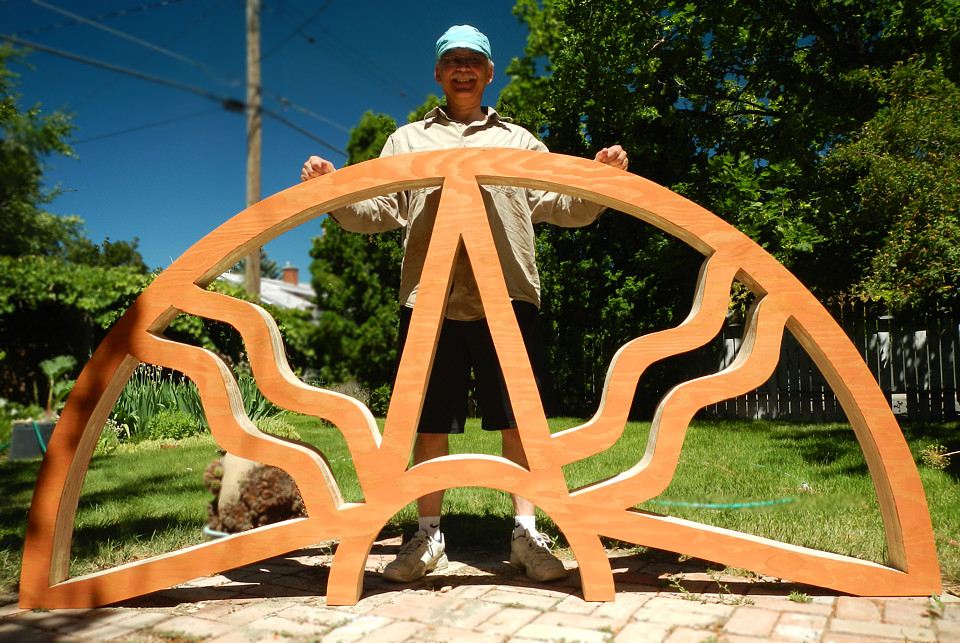
After gluing together and cutting out both halves, I have been busy filling holes with wood filler and sanding. I wanted a color that would contrast with the blue sky so I stained the wood with the color of a beautiful sunset. What do you think, does it work? (29 June 2014).
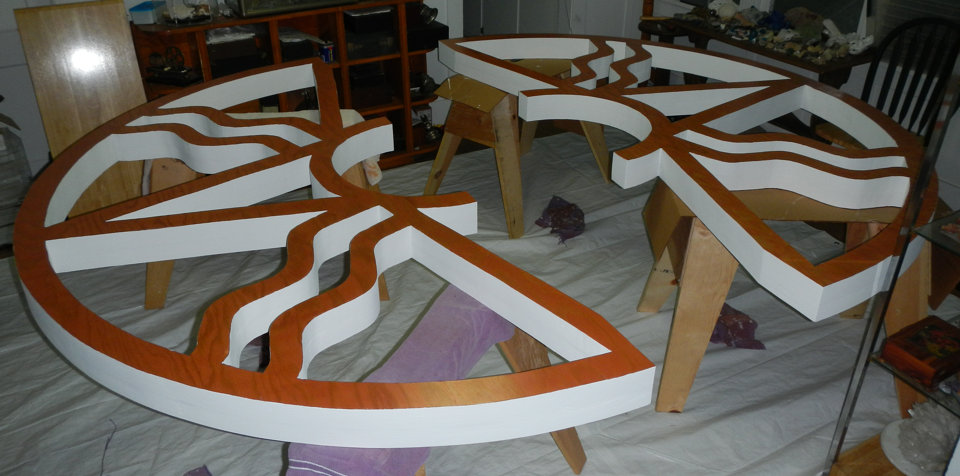
It was getting too hot outside so Emily and I moved it back into the house to finish painting the star (5 July 2014).
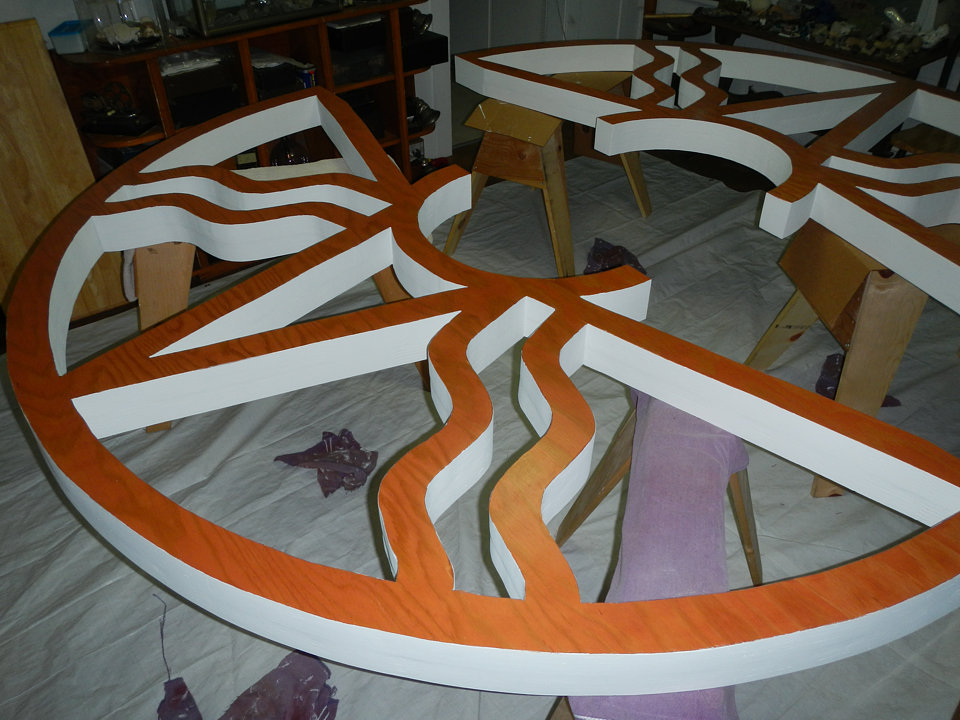
I painted all the inside surfaces white so that the light of the LEDs will be as bright and the colors will be as true as possible. The urethane finish darkened the stain a little, but I like it - it is exactly the color I wanted (5 July 2014).
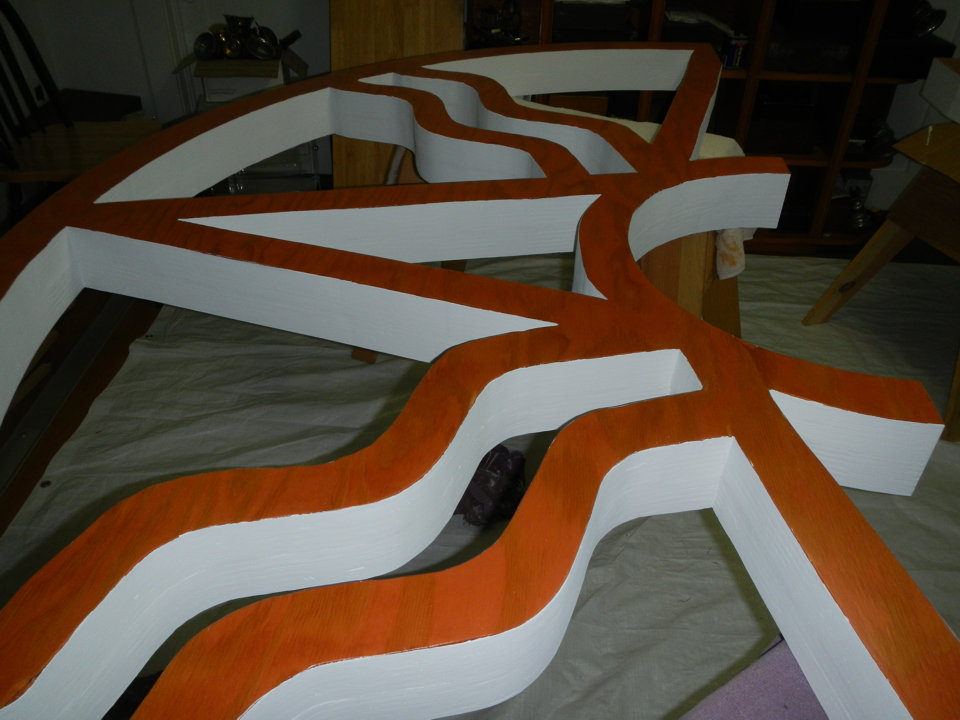
I'm finished painting so now I can start attaching the LED lights and splicing in the wire extensions where needed. A big thank you to Charles and Erik for helping me solder a bazillion wires together! (5 July 2014).
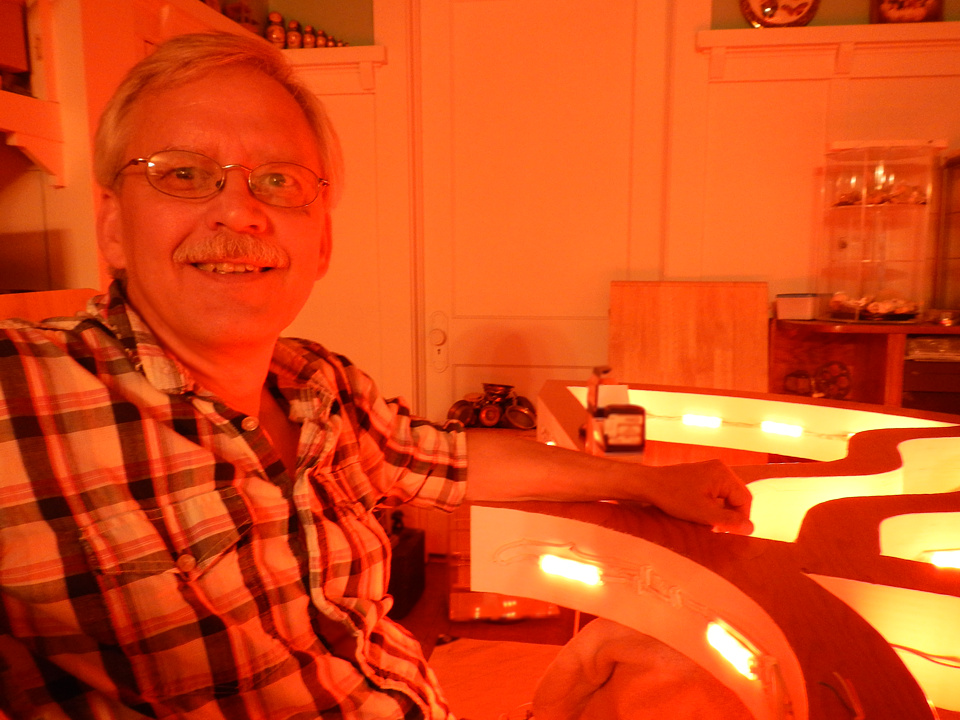
A picture of me with a partial view of the star with the LED lights attached and lit. (24 July 2014).
To see a video of a few of the LED light sequences, click this link to Youtube.com: https://youtu.be/xGR6czCtMCA or the embedded link below:
[click here to go back to the Star of Shamash planning page]
[click here to go to the Star of Shamash Burning Man art installation participation questionnaire responses page]